
Does Bulk Mockup work with video mockups?
Yes. Bulk Mockup works with video mockups when your Photoshop template uses Smart Objects. Bulk Mockup’s website explicitly lists Video Mockups & Animated Mockups as a supported workflow, and Photoshop’s Timeline panel lets you preview and export the result.
You need Adobe Photoshop CC 2022 or later for the current Bulk Mockup Photoshop Plugin. Bulk Mockup’s website also says an older plugin version is available for Photoshop CC 2017–2021.
How video mockups work with Bulk Mockup
Bulk Mockup Photoshop Plugin works with mockup PSD files that use Smart Objects for the design area. For video mockups, you also need the Photoshop Timeline panel enabled so you can preview the animation and export the final video.
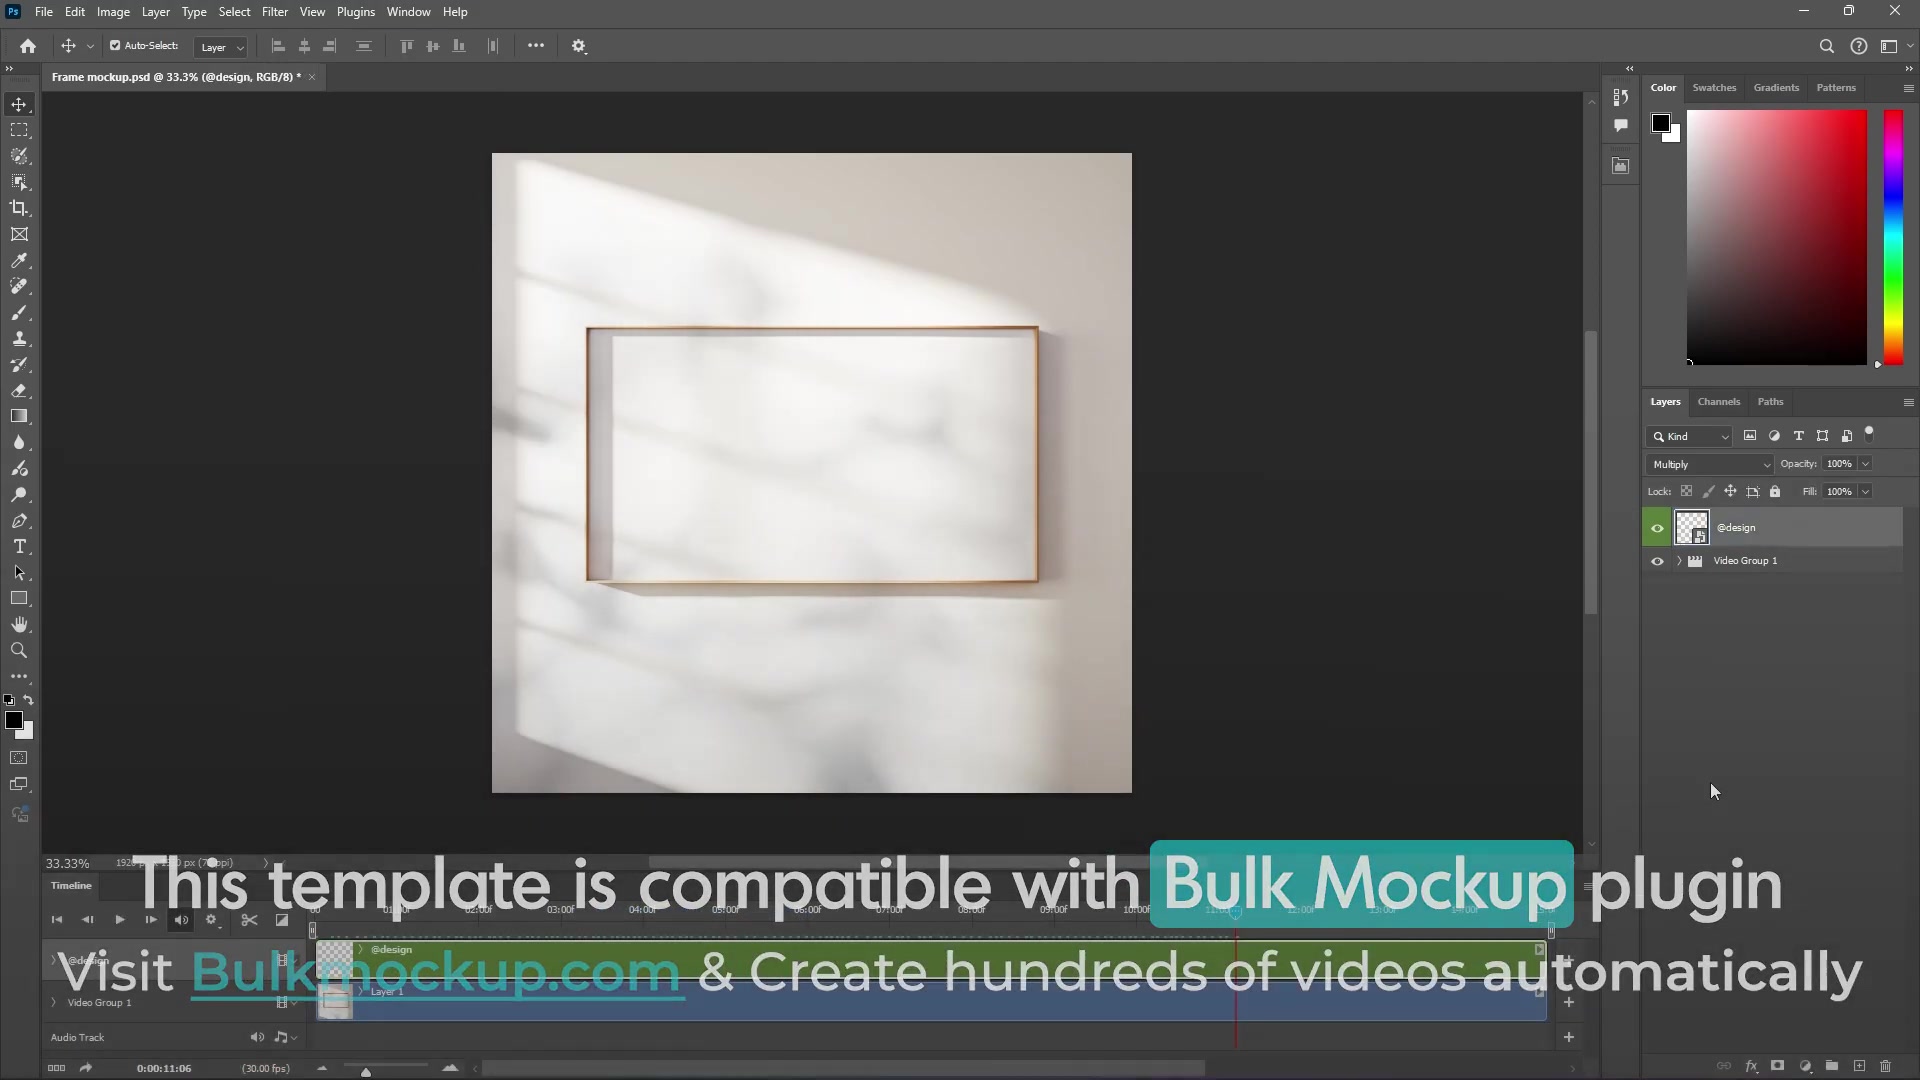
Open a PSD video mockup template in Photoshop.
Enable Window > Timeline.
Find the Smart Object layer that controls the design placement.
Rename that Smart Object layer to @design so the Bulk Mockup Photoshop Plugin can target it.
Save the PSD template.
Use the plugin to batch replace the Smart Object with your design files.
Export the finished result as a video.

What you need before you start
Adobe Photoshop
The Bulk Mockup Photoshop Plugin
A video mockup PSD template that uses Smart Objects
Your design files in PNG, JPG, or another image format
If the template does not use Smart Objects, Bulk Mockup Photoshop Plugin will not be able to replace the design area automatically.
Basic workflow for creating a video mockup
Start by testing one template manually in Photoshop. This helps you confirm that the Smart Object, animation, and placement all work before you run a larger batch.
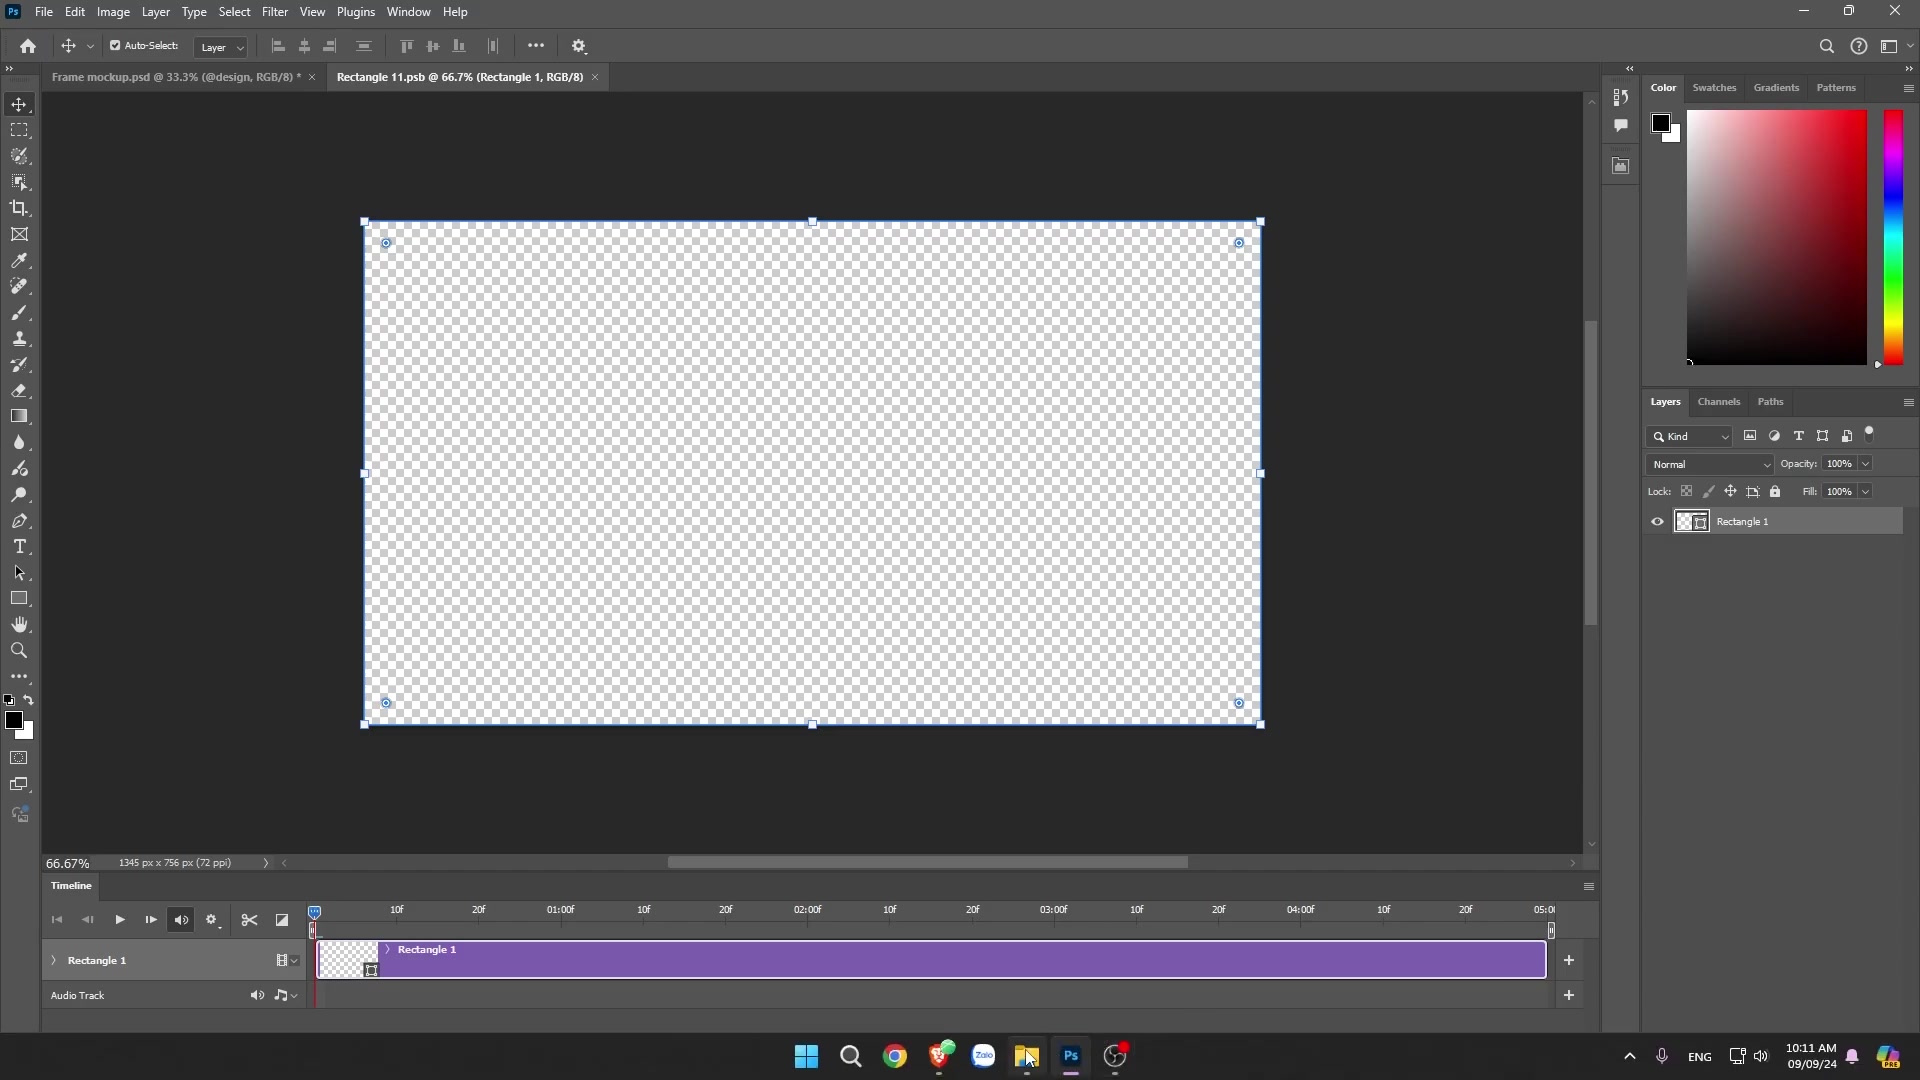
Open the video mockup PSD.
Double-click the Smart Object to open it.
Place your artwork inside the Smart Object.
Save the Smart Object and close it.
Return to the main PSD and preview the animation in the Timeline panel.
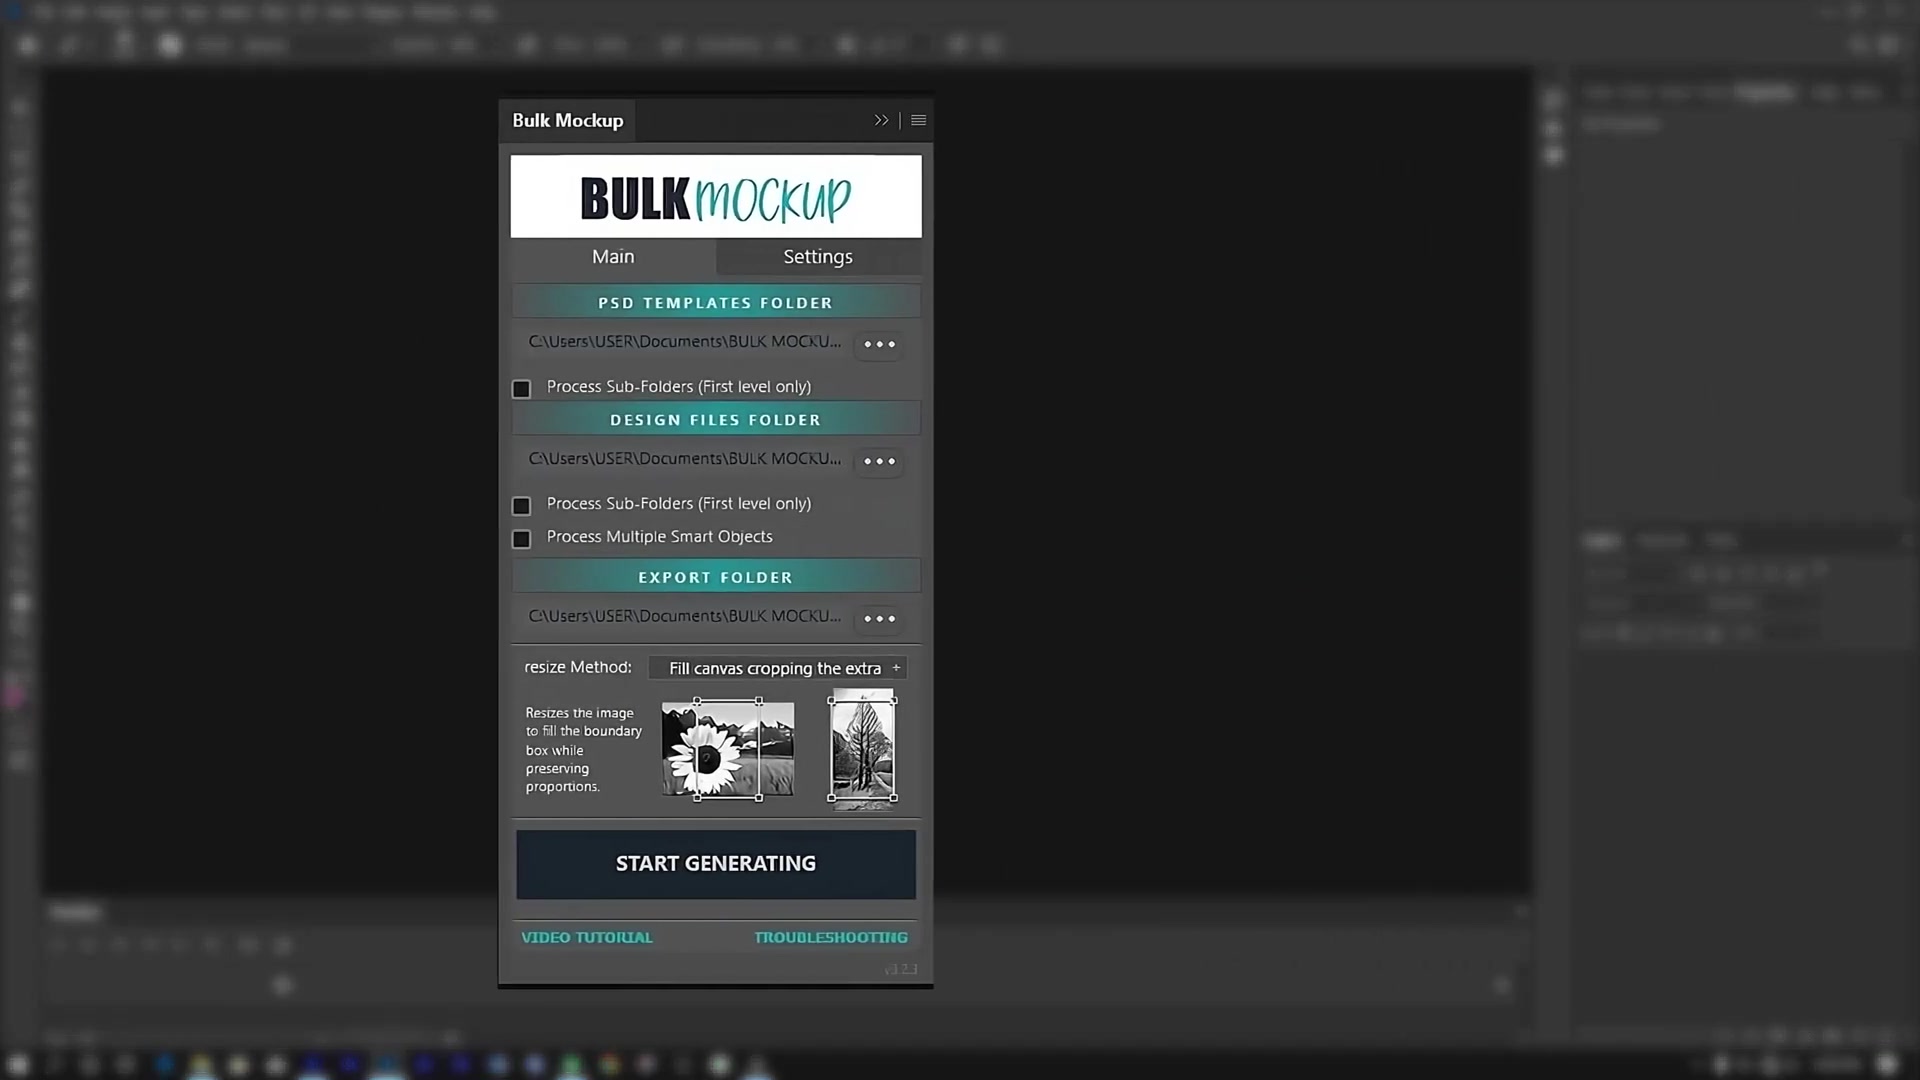
When the mockup looks correct, open the Bulk Mockup Photoshop Plugin.
Select your PSD Templates folder, Design Files folder, and Export Folder.
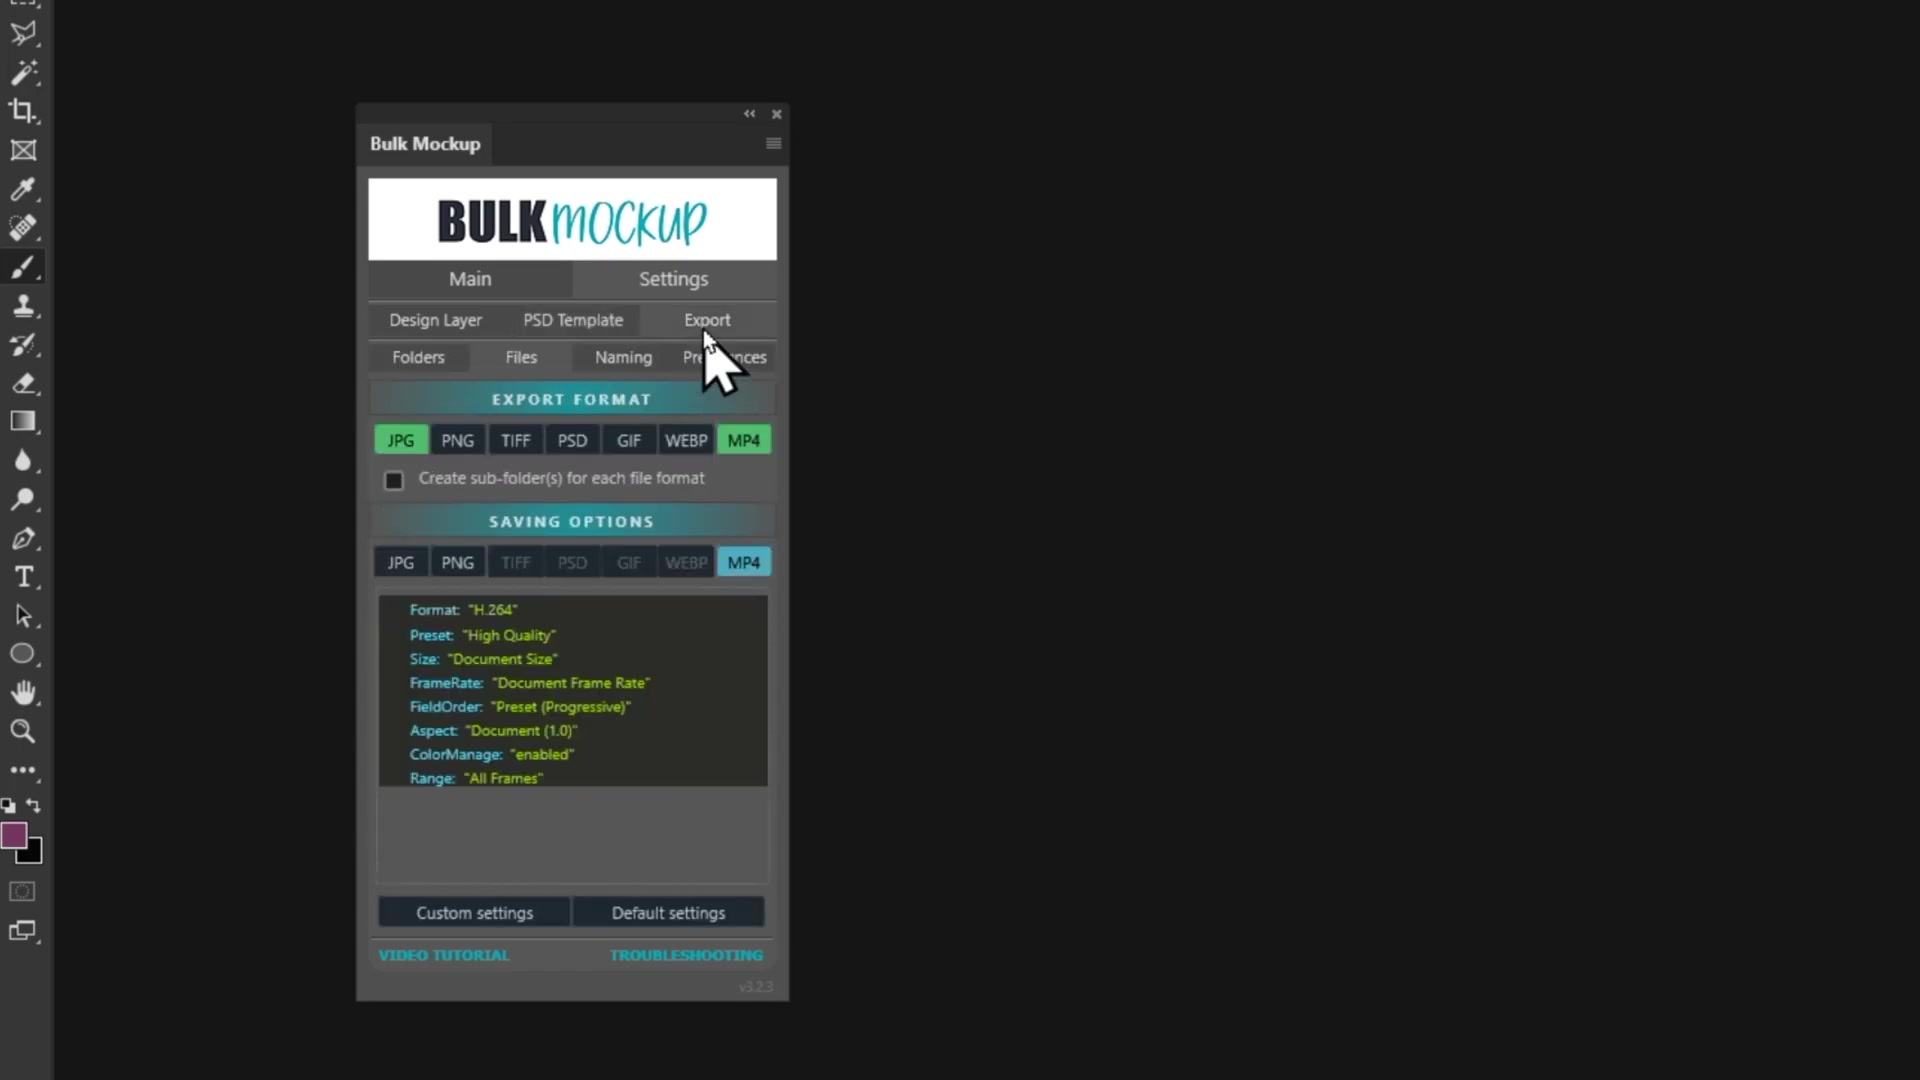
Set the export format to MP4 if your workflow requires video export.
Start the batch generation.
What to check if it is not working
Make sure your PSD template is a Photoshop file with Smart Objects.
Make sure the design layer is renamed to @design.
Make sure the Timeline panel is enabled for video templates.
Save the Smart Object after placing your artwork.
Test one export first before processing a full batch.
If you skip saving the Smart Object or use a template without Smart Objects, the video mockup will not update correctly.
Recommended tutorials
If you want the full step-by-step workflow, use these guides next:
Need More Help?
If you have questions about export folder settings or encounter any issues, contact the Bulk Mockup support team at [email protected].
Watch Similar videos:
Use Cases:
Create product listing videos from one PSD template
Batch export multiple video mockups for new designs
Preview animated wall art, tumbler, or other Smart Object-based mockups before publishing